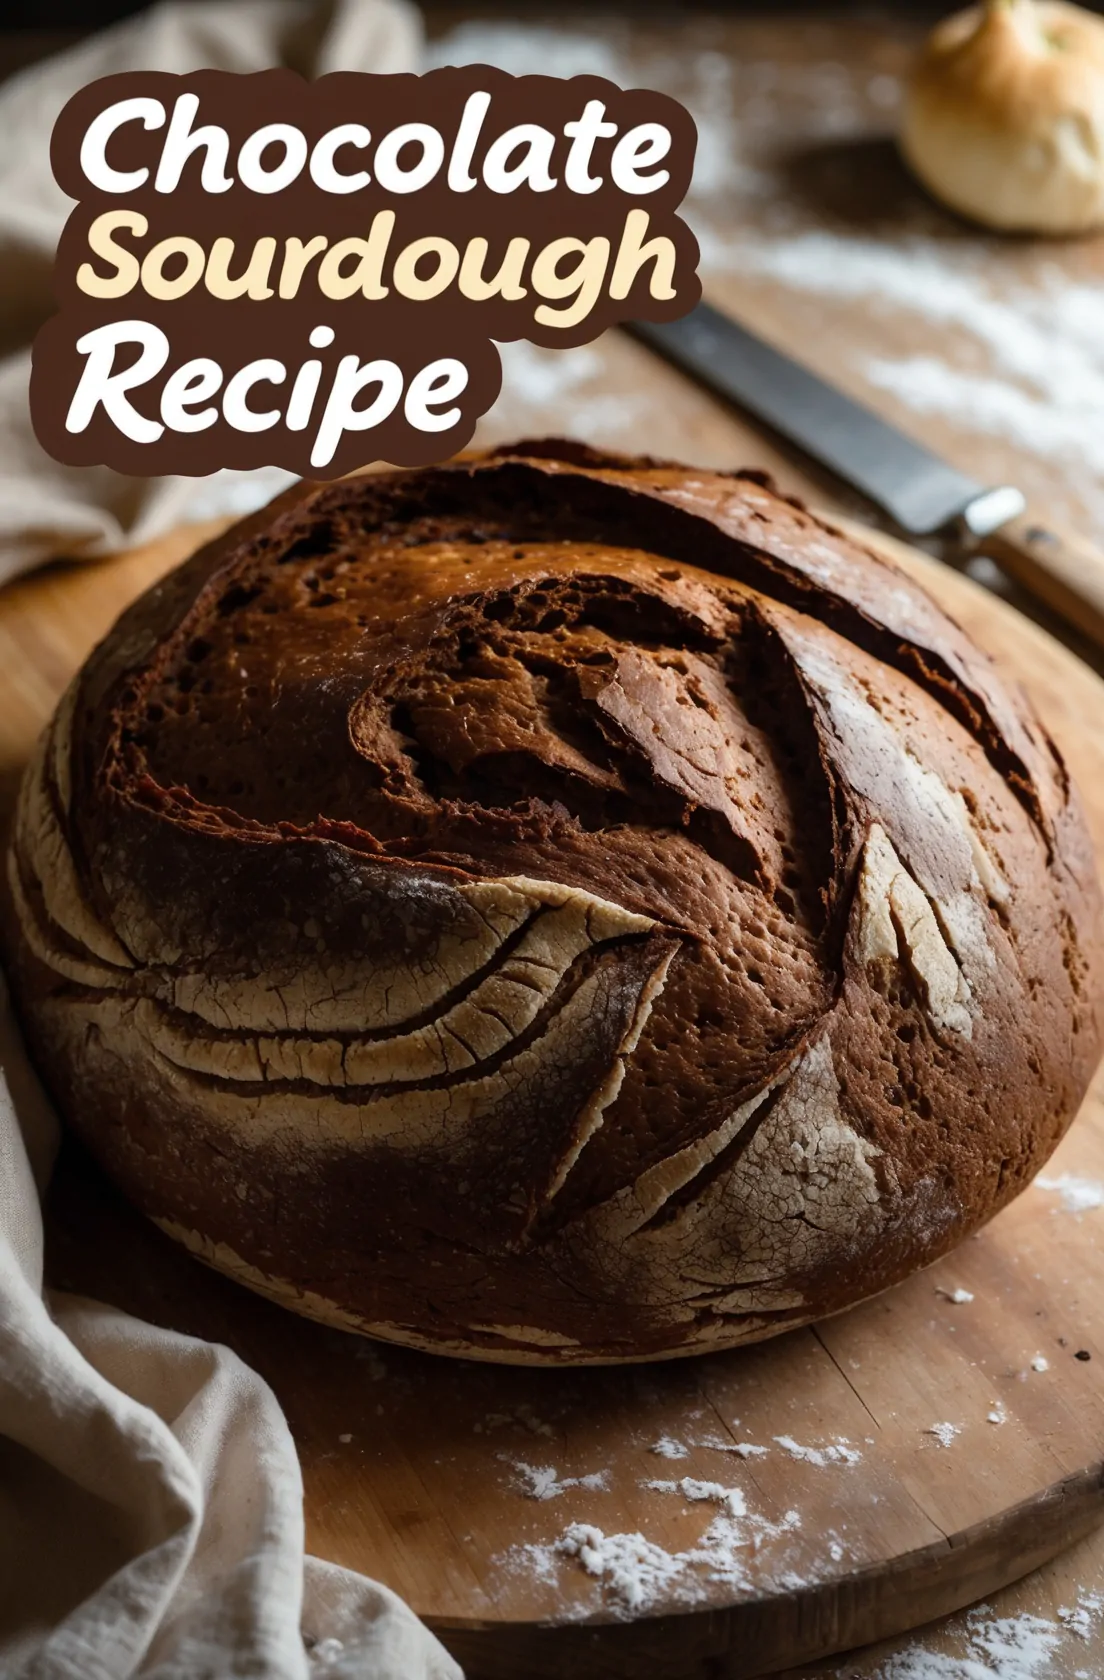
Chocolate Sourdough Bread Recipe – A Soft, Chewy, and Chocolatey Delight

Chocolate sourdough bread is a sweet surprise that brings together the best of both worlds:
the bold, tangy flavor of sourdough and the rich, comforting taste of chocolate.
This bread is soft inside, slightly crusty outside, and filled with gooey chocolate pieces that melt in your mouth.
It’s perfect for breakfast, a cozy snack, or even as a not-too-sweet dessert.
What makes this bread even more special is the use of sourdough starter.
That’s what gives it its chewy texture and slightly sour flavor.
Plus, sourdough is easier to digest than regular bread, making this recipe a little better for your tummy.
You don’t need any fancy equipment to make this loaf.
Just a bowl, your hands, and some time.
Let’s take a look at how to make this delicious bread from scratch.
Ingredients
- 3 cups bread flour (or all-purpose flour)
- ¼ cup unsweetened cocoa powder
- 1 teaspoon salt
- 1 tablespoon sugar
- 1 cup active sourdough starter (bubbly and room temperature)
- 1 to 1¼ cups warm water
- 1 teaspoon vanilla extract
- ½ to ¾ cup dark chocolate chips or chunks
Step By Step Instructions
Step 1: Mix the Dry Ingredients
Start by grabbing a large mixing bowl.
Add in the bread flour, cocoa powder, salt, and sugar.
Stir them all together until the mixture looks even.
The cocoa powder gives your dough a dark, chocolatey color and adds that deep flavor we all love.
Make sure everything is well mixed so the flavors spread evenly in the bread.

Step 2: Add the Wet Ingredients
Next, pour in the sourdough starter, vanilla extract, and 1 cup of warm water into the bowl of dry ingredients.
Mix everything together using a wooden spoon or your hands.
At this stage, the dough might seem a bit rough or sticky, but don’t worry.
If it feels too dry or isn’t coming together, slowly add a bit more water, one tablespoon at a time, until it becomes soft and stretchy.
You want it to be moist but not soupy.

Step 3: Fold in the Chocolate Chips and Strengthen the Dough
Now it’s time to add the chocolate chips or chunks.
Gently fold them into the dough using your hands so they’re spread out nicely.
Once mixed in, cover the bowl with a clean kitchen towel and let it rest for about 30 minutes.
After resting, you’ll want to do some stretching and folding.
Grab one edge of the dough, pull it up gently, and fold it over to the other side.
Turn the bowl and repeat this from all four sides. Do this a total of 3 times, resting the dough for 30 minutes in between each round.
This process helps build strength in the dough so the bread rises well and gets a chewy texture.

Step 4: Let the Dough Rise
After the final fold, cover the dough again and let it rise at room temperature for about 4 to 6 hours.
You’ll know it’s ready when the dough has grown in size and looks puffy.
If your kitchen is a bit cool, don’t worry—it may just take a little longer.
If you want even more flavor, you can put the covered dough in the fridge and let it rise overnight.
When you’re ready to bake the next day, let the dough sit out for about an hour to warm up a bit.

Step 5: Shape and Prepare the Dough for Baking
Once the dough has finished rising, sprinkle some flour on a clean surface and gently move the dough onto it.
Shape it into a round loaf by folding the sides under and forming a smooth top.
Place the shaped dough into a bowl lined with parchment paper or a clean floured towel.
Cover it again and let it rest for 30 to 60 minutes.
Meanwhile, preheat your oven to 450°F (230°C).
If you’re using a Dutch oven or a heavy pot, place it in the oven while it’s heating.
This helps give your bread a nice, crispy crust when it bakes.

Step 6: Bake the Bread
When the oven is hot, carefully remove the pot and place your dough (with parchment paper if using) inside.
Take a sharp knife and make a small cut or “score” on the top of the dough.
This helps the bread expand while baking.
Cover the pot with the lid and bake for 25 minutes.
Then, take off the lid and bake for another 15 to 20 minutes, or until the crust is dark and firm.
The chocolate may bubble a bit, and that’s totally fine.
Once it’s done, take the bread out and place it on a wire rack.
Let it cool for at least an hour before slicing.
This helps the inside finish setting and keeps it soft and moist.

Final Thought
Making chocolate sourdough bread is a fun and rewarding baking project.
The deep cocoa flavor, mixed with melted bits of chocolate and the natural sourness of the bread, makes each slice rich and satisfying.
It’s not overly sweet, so you can eat it as part of your breakfast, use it for sandwiches, or enjoy it with a glass of milk in the evening.
The best thing about this recipe is how simple it is.
You don’t need to be an expert to get great results.
Just follow the steps, give your dough time to rise, and bake with care.
The sourdough starter does most of the hard work for you.
So if you’ve been wondering what to do with that extra sourdough starter sitting in your kitchen, give this chocolate sourdough bread a try.
It’s sure to become a favorite in your home—one you’ll want to bake again and again.
