Red Velvet Cake Recipe – Soft, Rich, and Full of Color
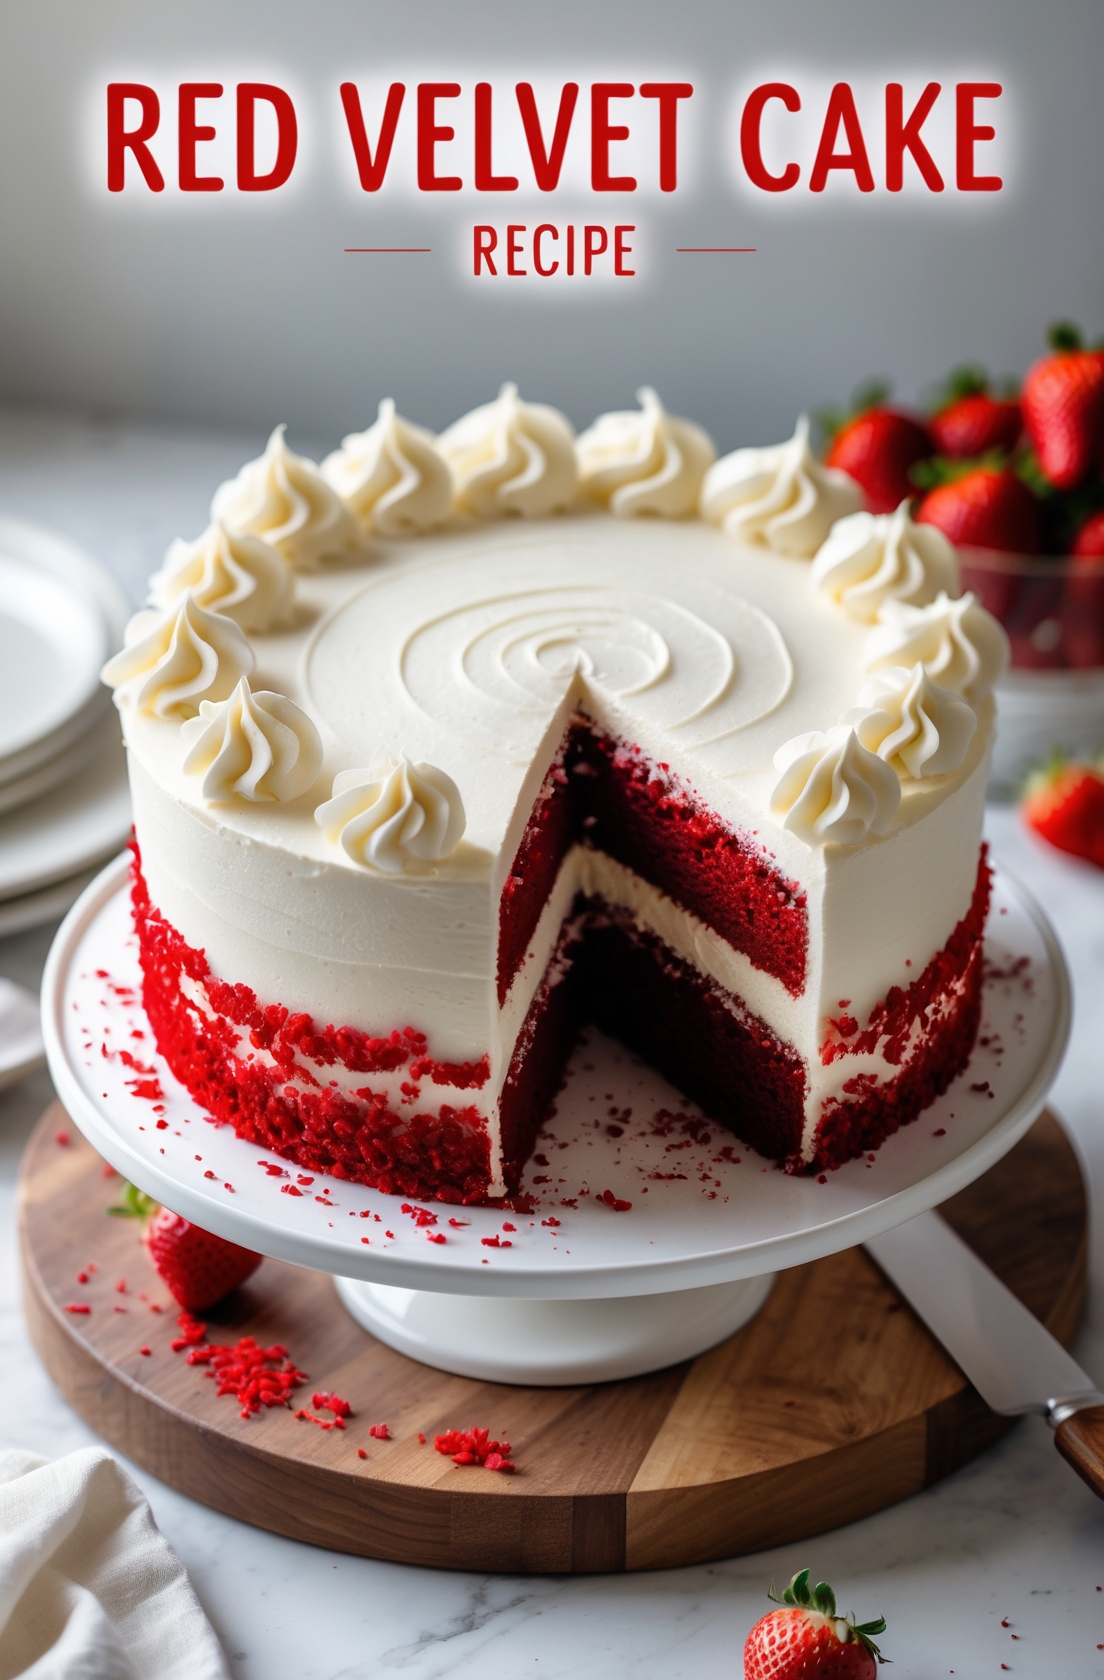
Red velvet cake is a beautiful and delicious treat that’s perfect for birthdays, holidays, or any special occasion.
It has a soft, moist texture and a rich, slightly tangy flavor.
And of course, its deep red color makes it stand out from any other cake.
Don’t worry if you’ve never made a red velvet cake before.
This recipe is simple, uses common ingredients, and takes you through every step.
Once it’s baked and topped with creamy frosting, it’s a dessert you’ll want to make again and again.
Why Red Velvet Cake Is So Special
Red velvet cake is not just a red-colored cake. It has a light chocolate flavor with a hint of vanilla and a little tang from buttermilk and vinegar.
The texture is super soft, and it pairs perfectly with cream cheese frosting.
The red color makes it look fancy, but the recipe itself is very easy to follow.
Whether you’re baking for a party or just want to try something new, this red velvet cake is sure to impress.
Ingredients
This recipe makes one 9-inch round two-layer cake (or about 24 cupcakes).
For the cake:
- 2 and 1/2 cups (310g) all-purpose flour
- 2 tablespoons (15g) unsweetened cocoa powder
- 1 teaspoon baking soda
- 1/2 teaspoon salt
- 1/2 cup (120ml) vegetable oil
- 1/2 cup (115g) unsalted butter, softened
- 1 and 3/4 cups (350g) granulated sugar
- 2 large eggs (room temperature)
- 1 cup (240ml) buttermilk (room temperature)
- 1 tablespoon red food coloring (liquid or gel)
- 2 teaspoons vanilla extract
- 1 teaspoon white vinegar
For the cream cheese frosting:
- 8 oz (225g) cream cheese, softened
- 1/2 cup (115g) unsalted butter, softened
- 3 and 1/2 cups (420g) powdered sugar
- 2 teaspoons vanilla extract
Step by Step Instructions
Step 1: Get Ready to Bake
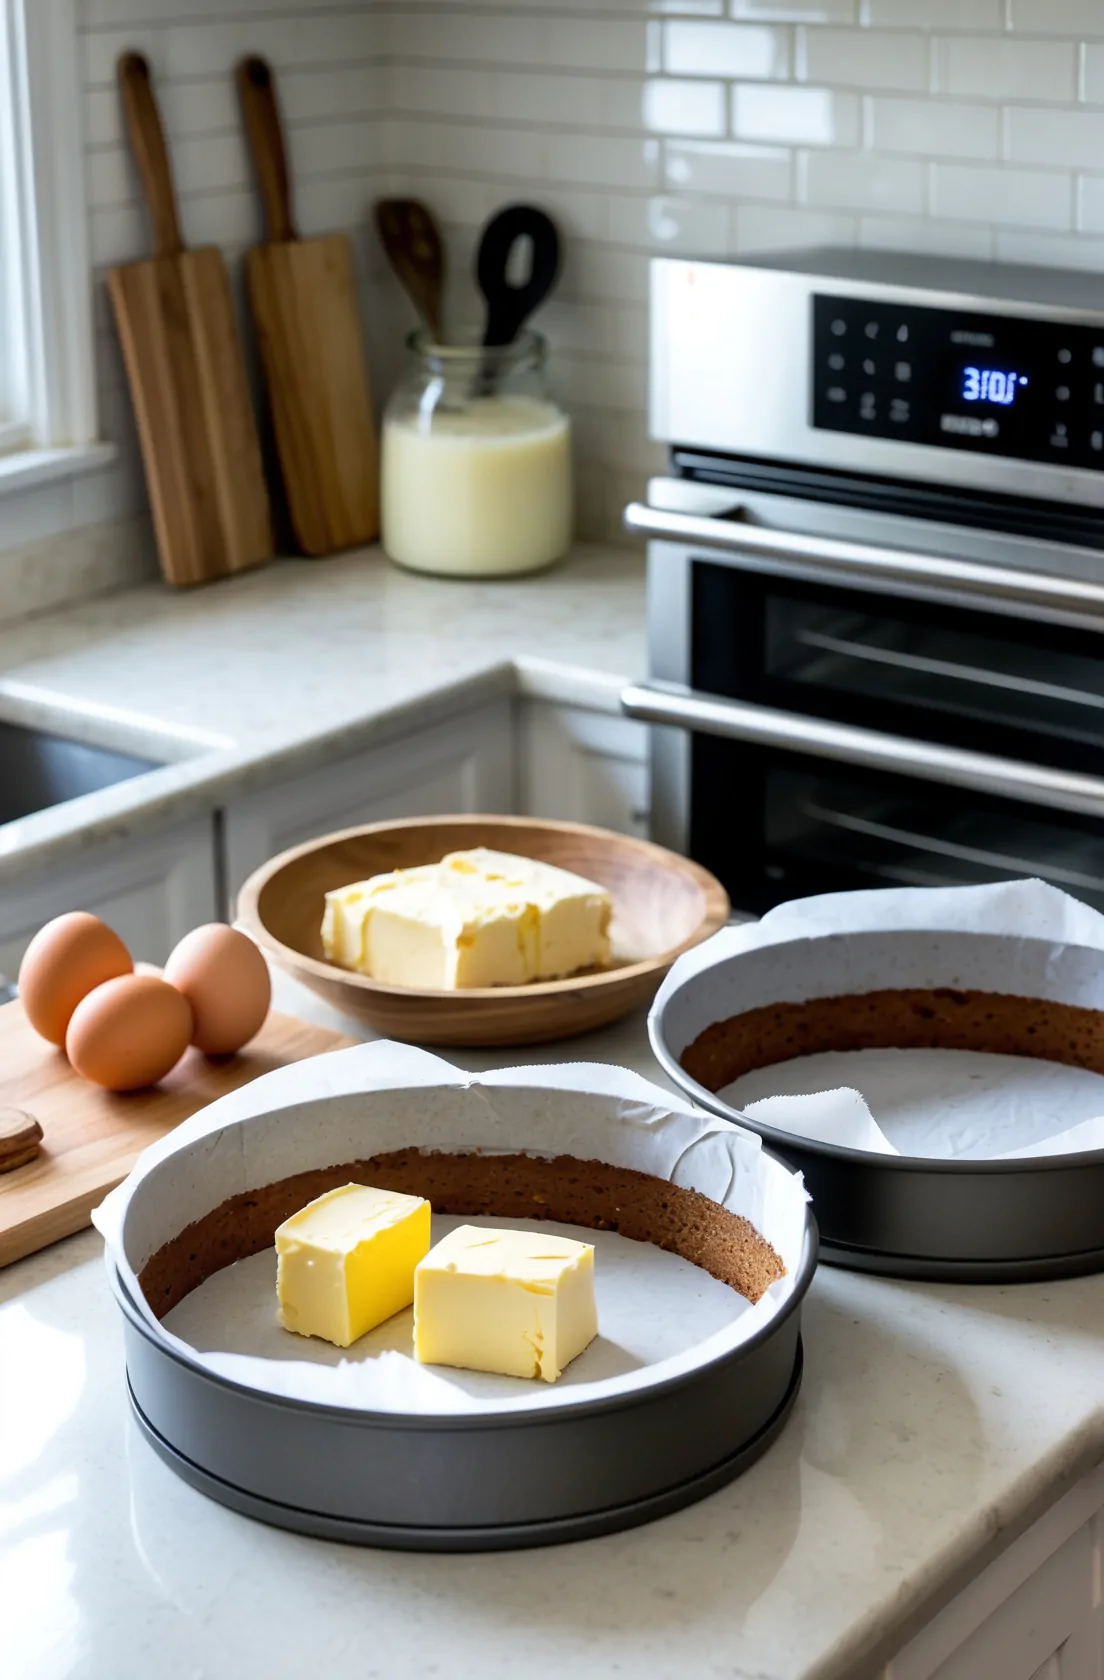
Start by preheating your oven to 350°F (175°C).
This makes sure your oven is hot and ready when your batter is done.
Grease two 9-inch round cake pans and line the bottoms with parchment paper.
This helps the cakes come out easily after baking.
Make sure your eggs, buttermilk, and butter are at room temperature.
This helps everything mix smoothly and gives your cake a soft texture.
Step 2: Mix the Dry Ingredients
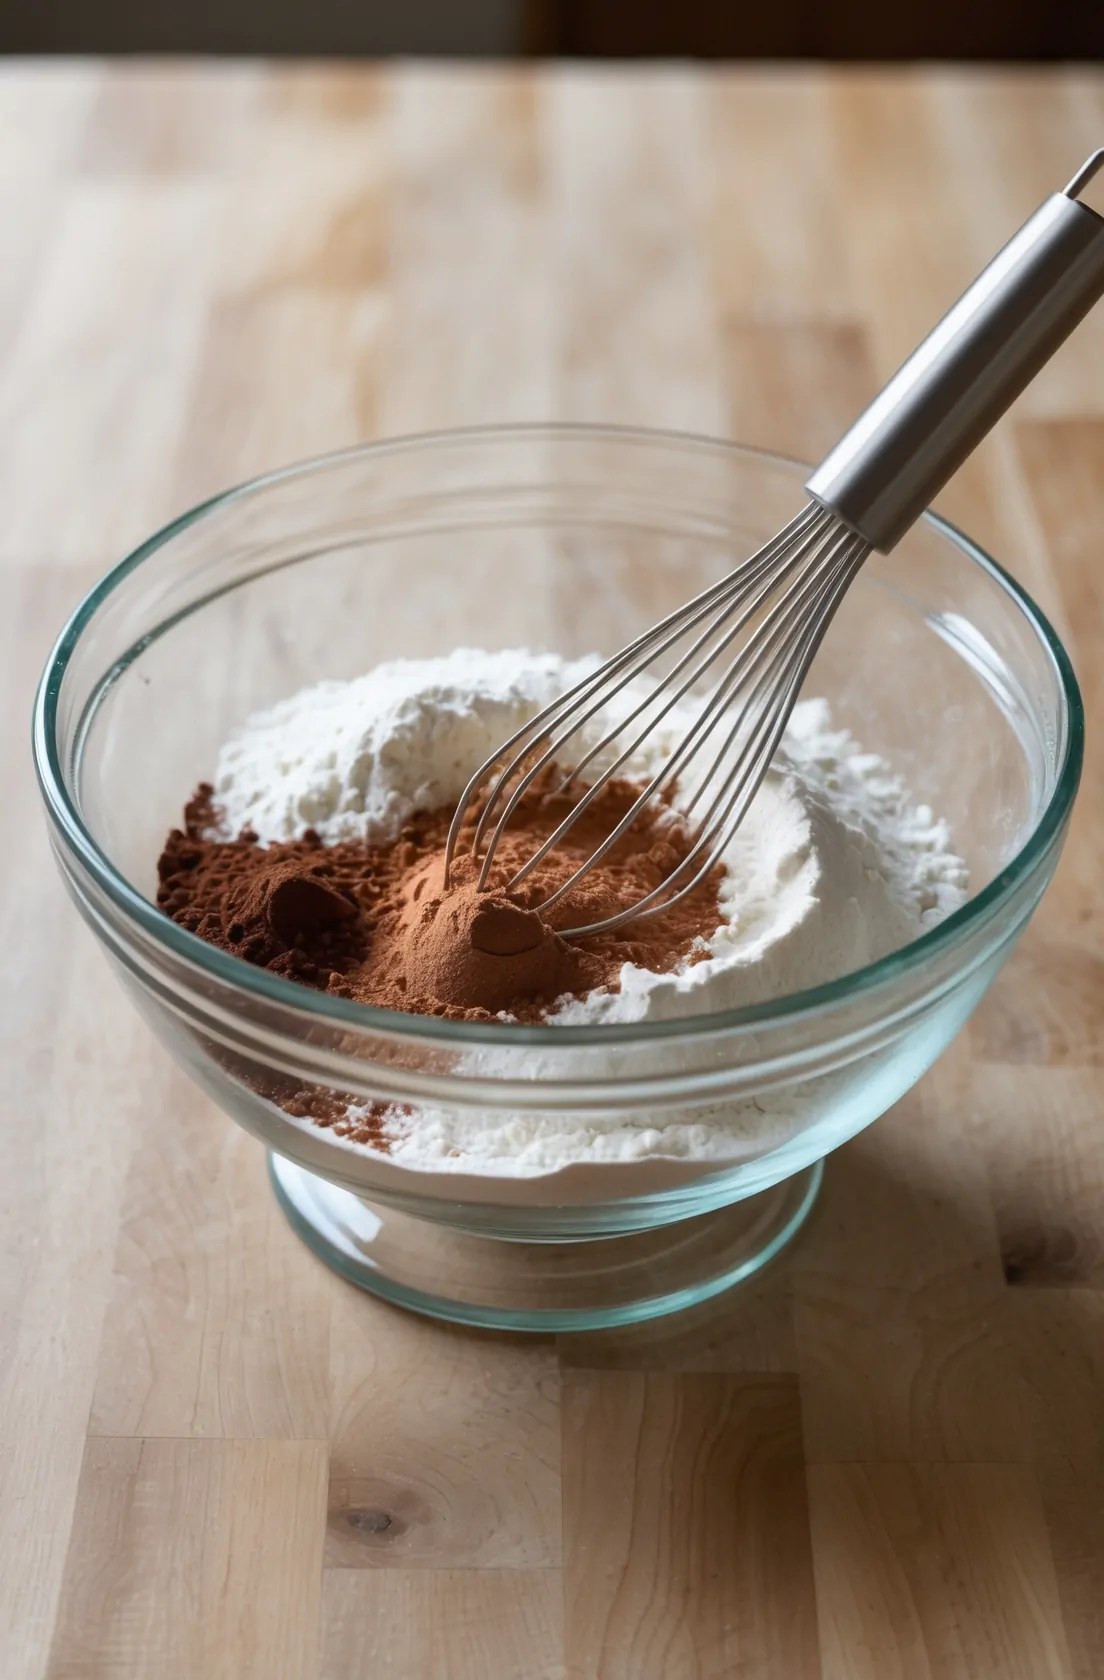
In a medium bowl, combine the flour, cocoa powder, baking soda, and salt.
Use a whisk or spoon to mix them together.
Set this bowl aside while you work on the wet ingredients.
Even though red velvet cake has cocoa, it’s not a strong chocolate cake.
The cocoa just adds a soft, mild flavor.
Step 3: Cream the Butter, Sugar, and Eggs
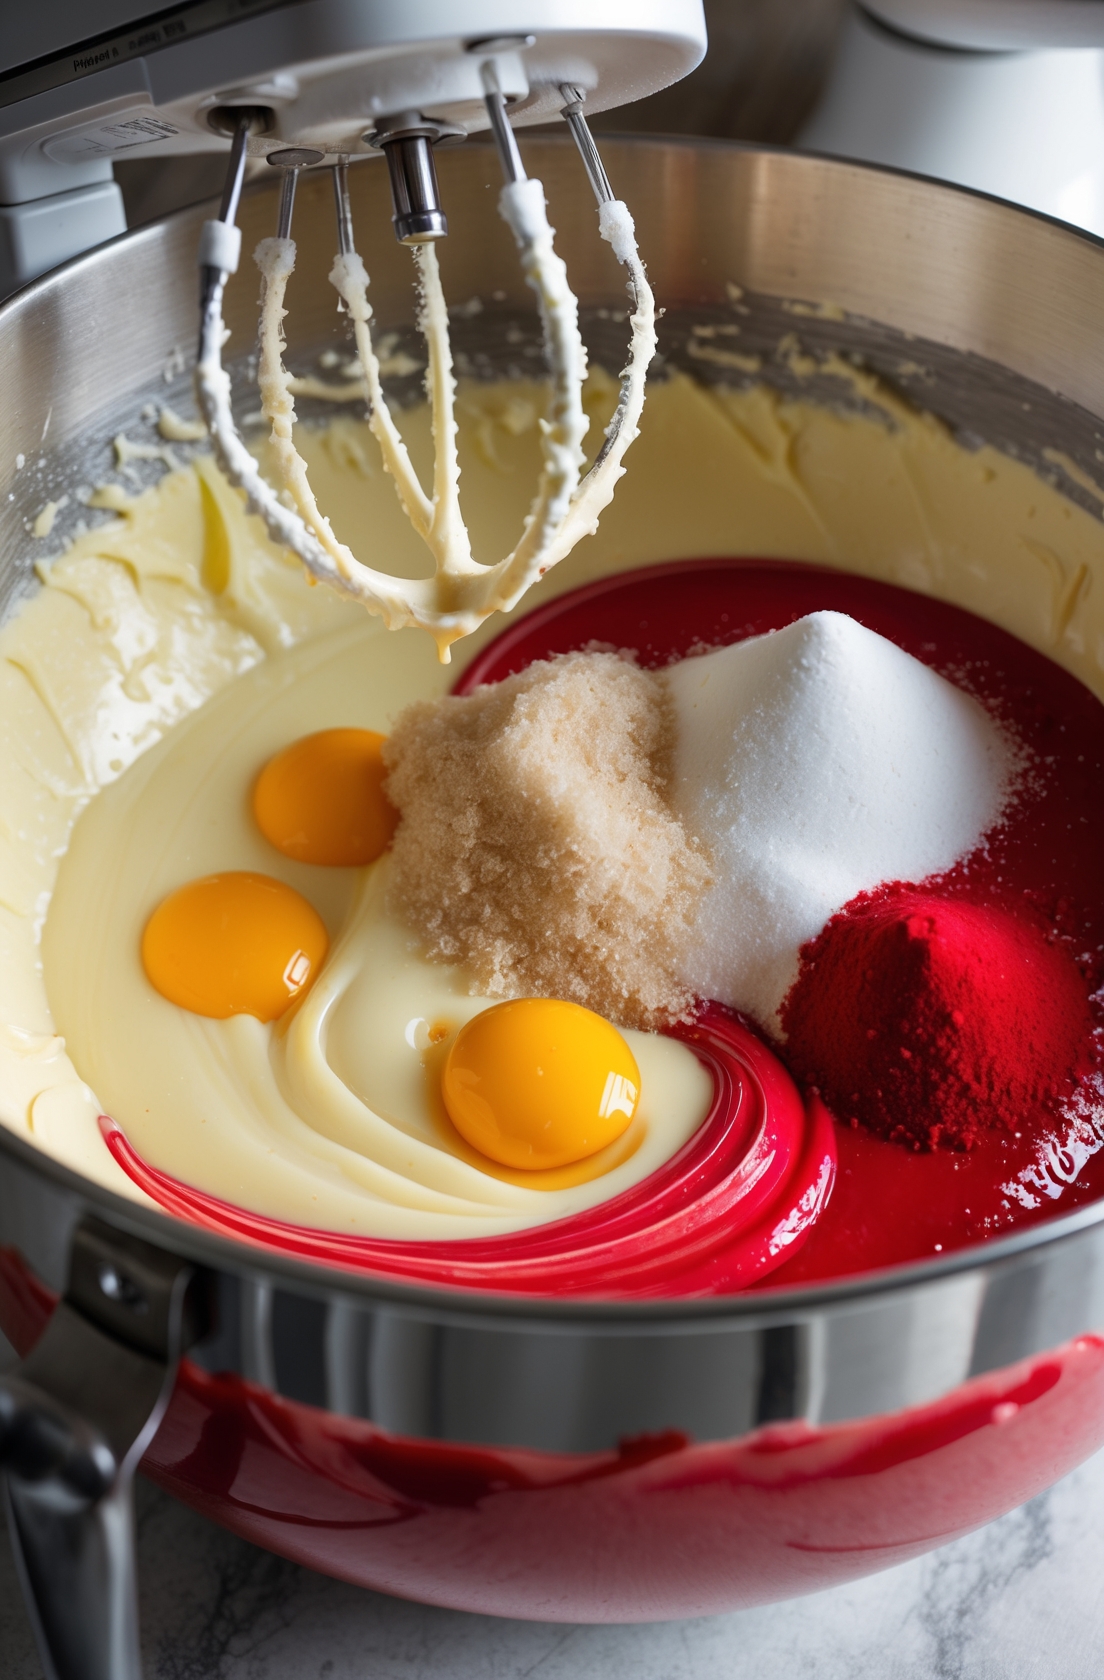
In a large bowl, beat the softened butter, oil, and sugar together until the mixture looks light and fluffy.
This takes about 2–3 minutes with a hand mixer on medium speed.
Next, add the eggs one at a time.
Beat well after each egg so the mixture becomes smooth and creamy.
Now add the vanilla extract and red food coloring.
Mix again until the color is even throughout the batter.
You should have a rich, red batter at this stage.
Step 4: Add the Dry Ingredients and Buttermilk
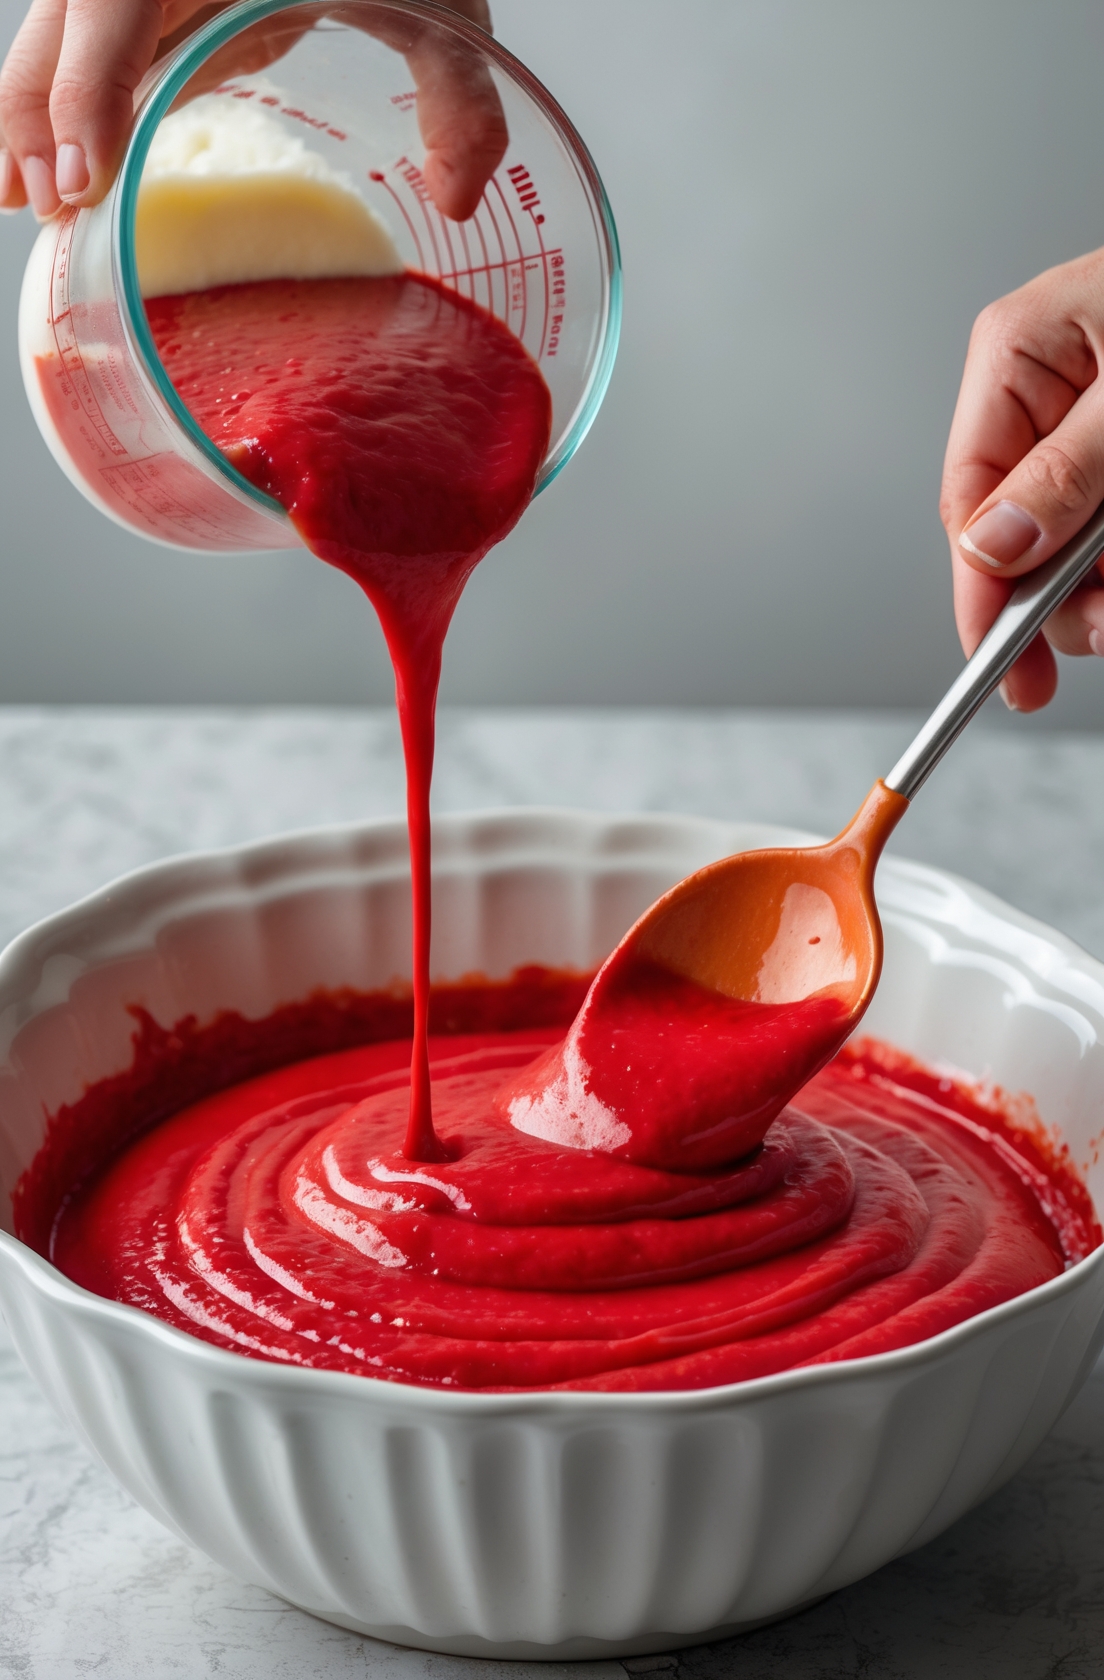
Add half of the flour mixture into the red batter and mix on low speed.
Pour in the buttermilk and mix gently, then add the rest of the flour mixture. Mix until everything is just combined.
Finally, add the white vinegar and stir it in. Don’t overmix. You want the batter to be smooth but not too worked.
The batter will be slightly thick and bright red—just what you want for a perfect red velvet cake.
Step 5: Bake the Cake
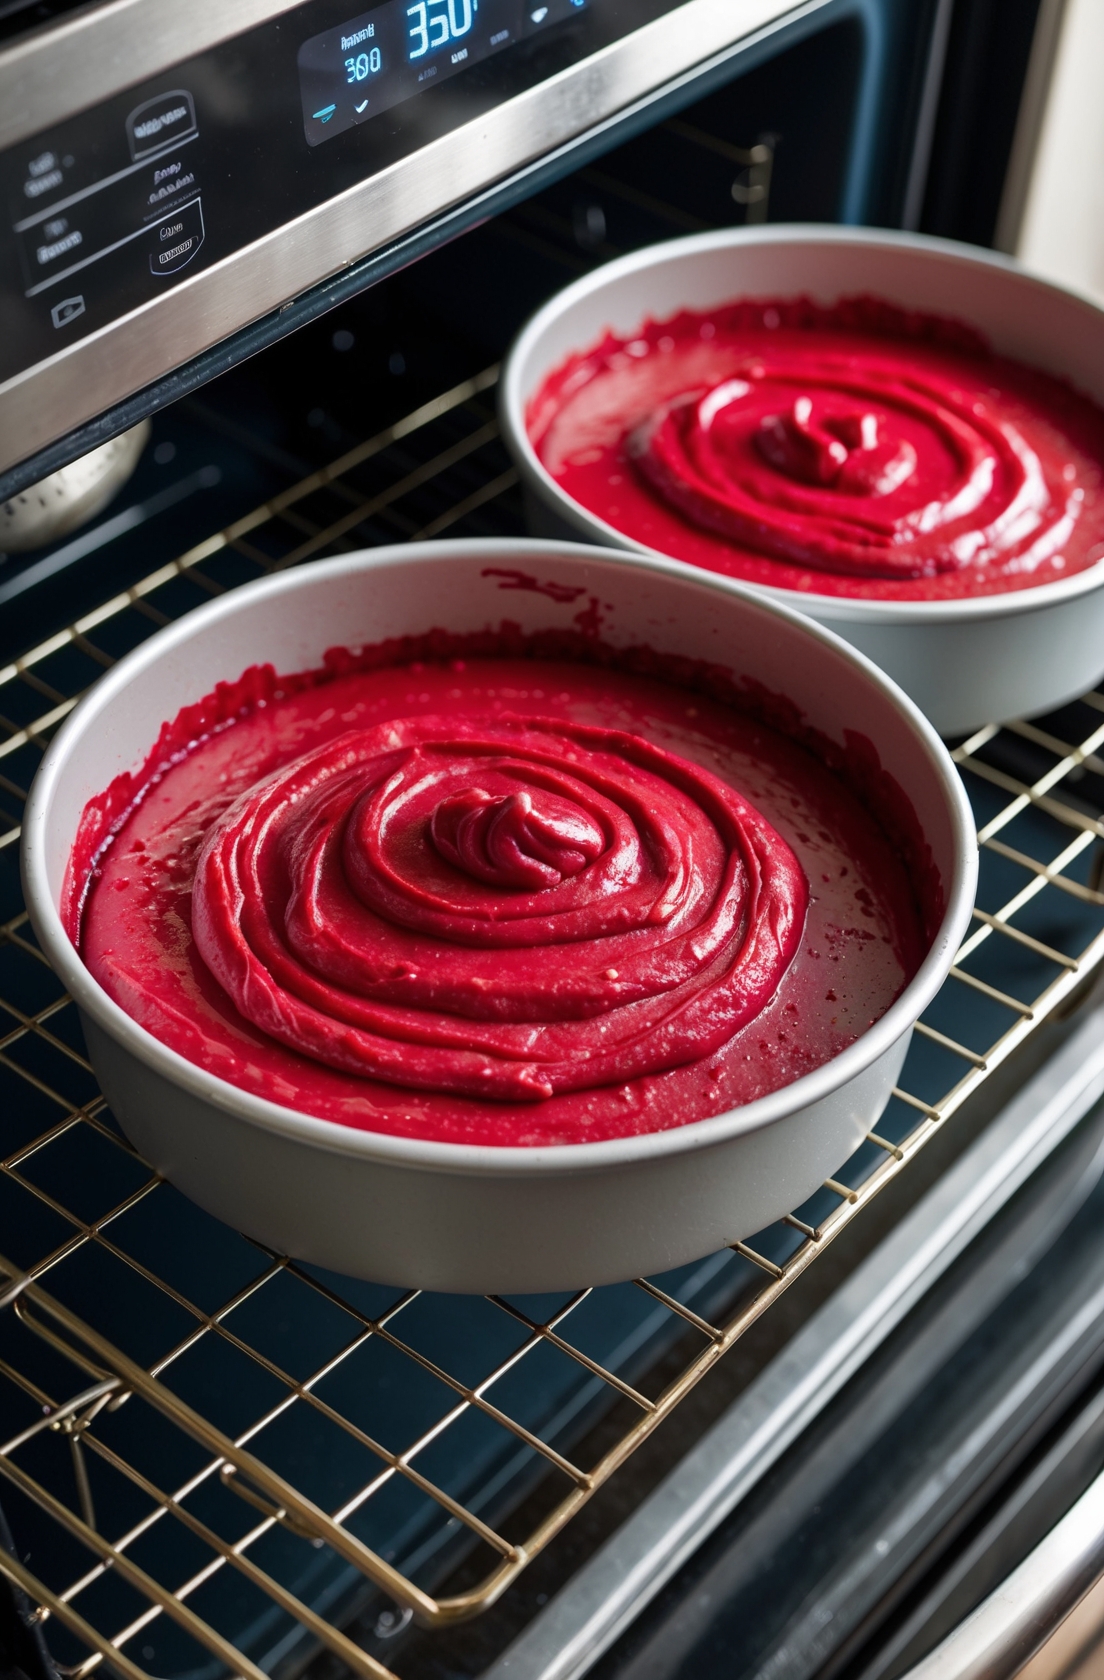
Divide the batter evenly between the two cake pans.
Use a spatula to smooth the tops.
Bake in the preheated oven for 28–32 minutes, or until a toothpick inserted in the center comes out clean.
Let the cakes cool in the pans for about 10 minutes, then gently turn them out onto a wire rack to cool completely.
Don’t frost the cakes while they’re still warm, or the frosting will melt.
Step 6: Make and Add the Cream Cheese Frosting
In a large bowl, beat the softened cream cheese and butter together until smooth and creamy.
Add the powdered sugar a little at a time, mixing on low speed until it’s fully combined.
Then beat in the vanilla extract.
Once the cakes are completely cool, place one layer on a plate or cake stand.
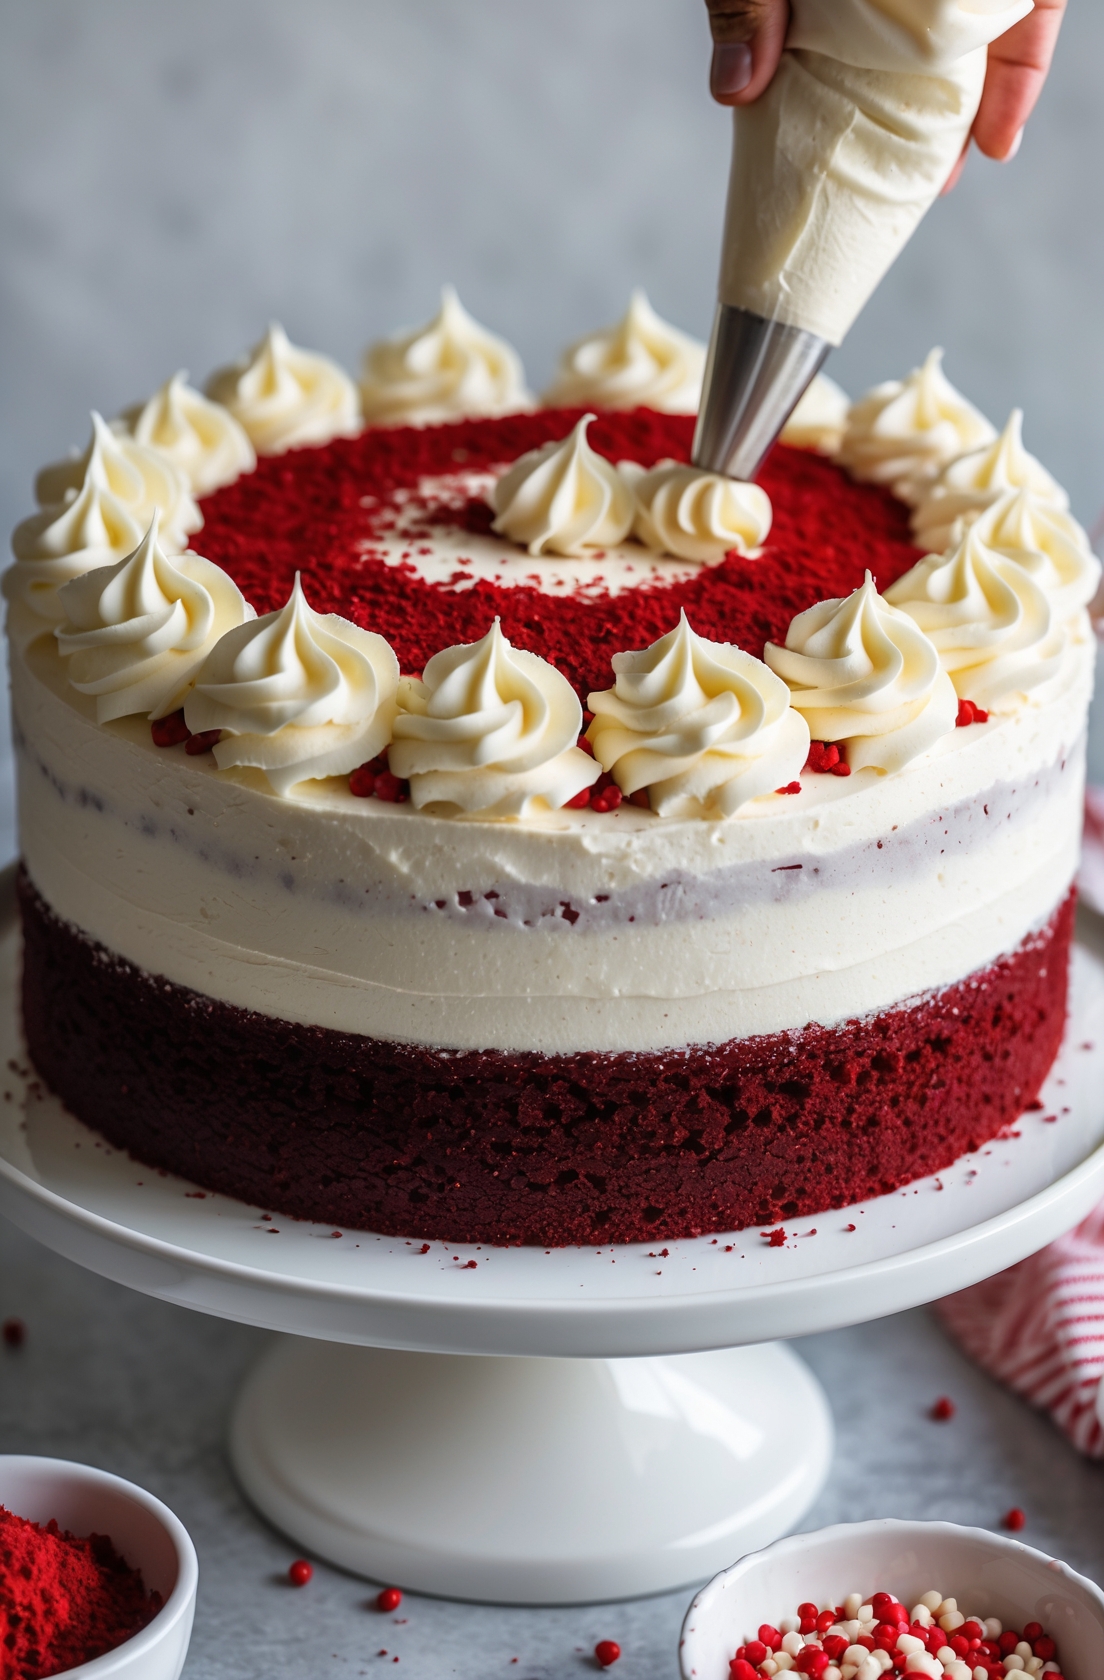
Spread frosting over the top, then place the second layer on top and cover the entire cake with frosting.
You can keep the look simple, or use a piping bag to decorate the top.
Add sprinkles or red velvet cake crumbs for a fun finish.
Helpful Tips for Perfect Red Velvet Cake
Use Buttermilk
Buttermilk adds moisture and gives the cake its slight tangy flavor.
If you don’t have it, mix 1 cup milk with 1 tablespoon vinegar and let it sit for 5 minutes.
Don’t Skip the Vinegar
The vinegar reacts with the baking soda to help the cake rise.
It also boosts the red color.
Let Everything Cool
Make sure the cake layers are cool before frosting.
If they’re too warm, the frosting will slide off or melt.
Chill for Clean Slices
For neat cake slices, chill the cake in the fridge for 30–60 minutes before slicing.
Frosting Alternatives
If you want to try something different, here are a few other frosting ideas:
Whipped cream frosting – light and airy
Buttercream frosting – sweeter than cream cheese
Chocolate ganache – for a richer flavor combo
No matter which one you pick, they all go great with red velvet.
Final Thoughts
Red velvet cake is soft, colorful, and full of flavor.
It’s not just pretty—it tastes amazing too.
The slight cocoa flavor, creamy frosting, and bright red color make every bite feel special.
With simple steps and common ingredients, this red velvet cake recipe is easy to follow.
Whether you’re baking it for someone’s birthday or just because you love cake, it’s sure to be a hit.
So grab your mixing bowl, preheat your oven, and enjoy baking a red velvet cake that’s as beautiful as it is delicious.
